Showing posts with label Maria's Dinner Table. Show all posts

Friday, 28 May 2010

Spinach and Bacon Salad with Roasted Red Pepper Bruschetta

Try this salad for an easy weeknight meal this summer. Serve with roasted red pepper bruschetta on the side.

  • 4 cups chopped fresh spinach, washed and drained very well (better yet, use a salad spinner)
  • 6 slices thick bacon, cut into bits (Most grocery stores sell packages of bacon ends, which are cheaper than those nicely sliced breakfast rashers; it doesn't matter if they don't look pretty, because you will be cutting them up anyway.)
  • 2 boiled eggs, chopped
  • ranch dressing (see below for homemade recipe)

In a large skillet/ frying pan, fry the bacon until crisp. Pour off oil. Add the spinach and mix with the bacon. Cook until just wilted.

Sprinkle the chopped egg on top and drizzle with ranch dressing. Serves 2.

Homemade Ranch Dressing

1/2 cup mayonnaise
1/2 sour cream
1 tbsp each of chopped dill, parsley, and chives
1 clove of garlic, finely minced
salt and pepper to taste
4-6 tablespoons buttermilk

Mix the mayo, sour cream, and herbs together in a small bowl. Use the buttermilk to thin the dressing to desired consistency. Season with salt and pepper.

Roasted Red Pepper Bruschetta

1/2 baguette, sliced in half lengthwise
roasted red pepper slices with olive oil                 baby arugula/ rocket leaves 
1 clove of garlic

Slice the garlic clove in two and rub over the surface of the baguette halves. Spread the olive oil from the roasted red peppers over the baguettes. Layer the arugula leaves and red pepper slices on top. Toast in the oven until the edges of the baguette slices are golden brown and crisp. Serve immediately.


Recipe thanks to Maria Olaguera

Thursday, 20 May 2010

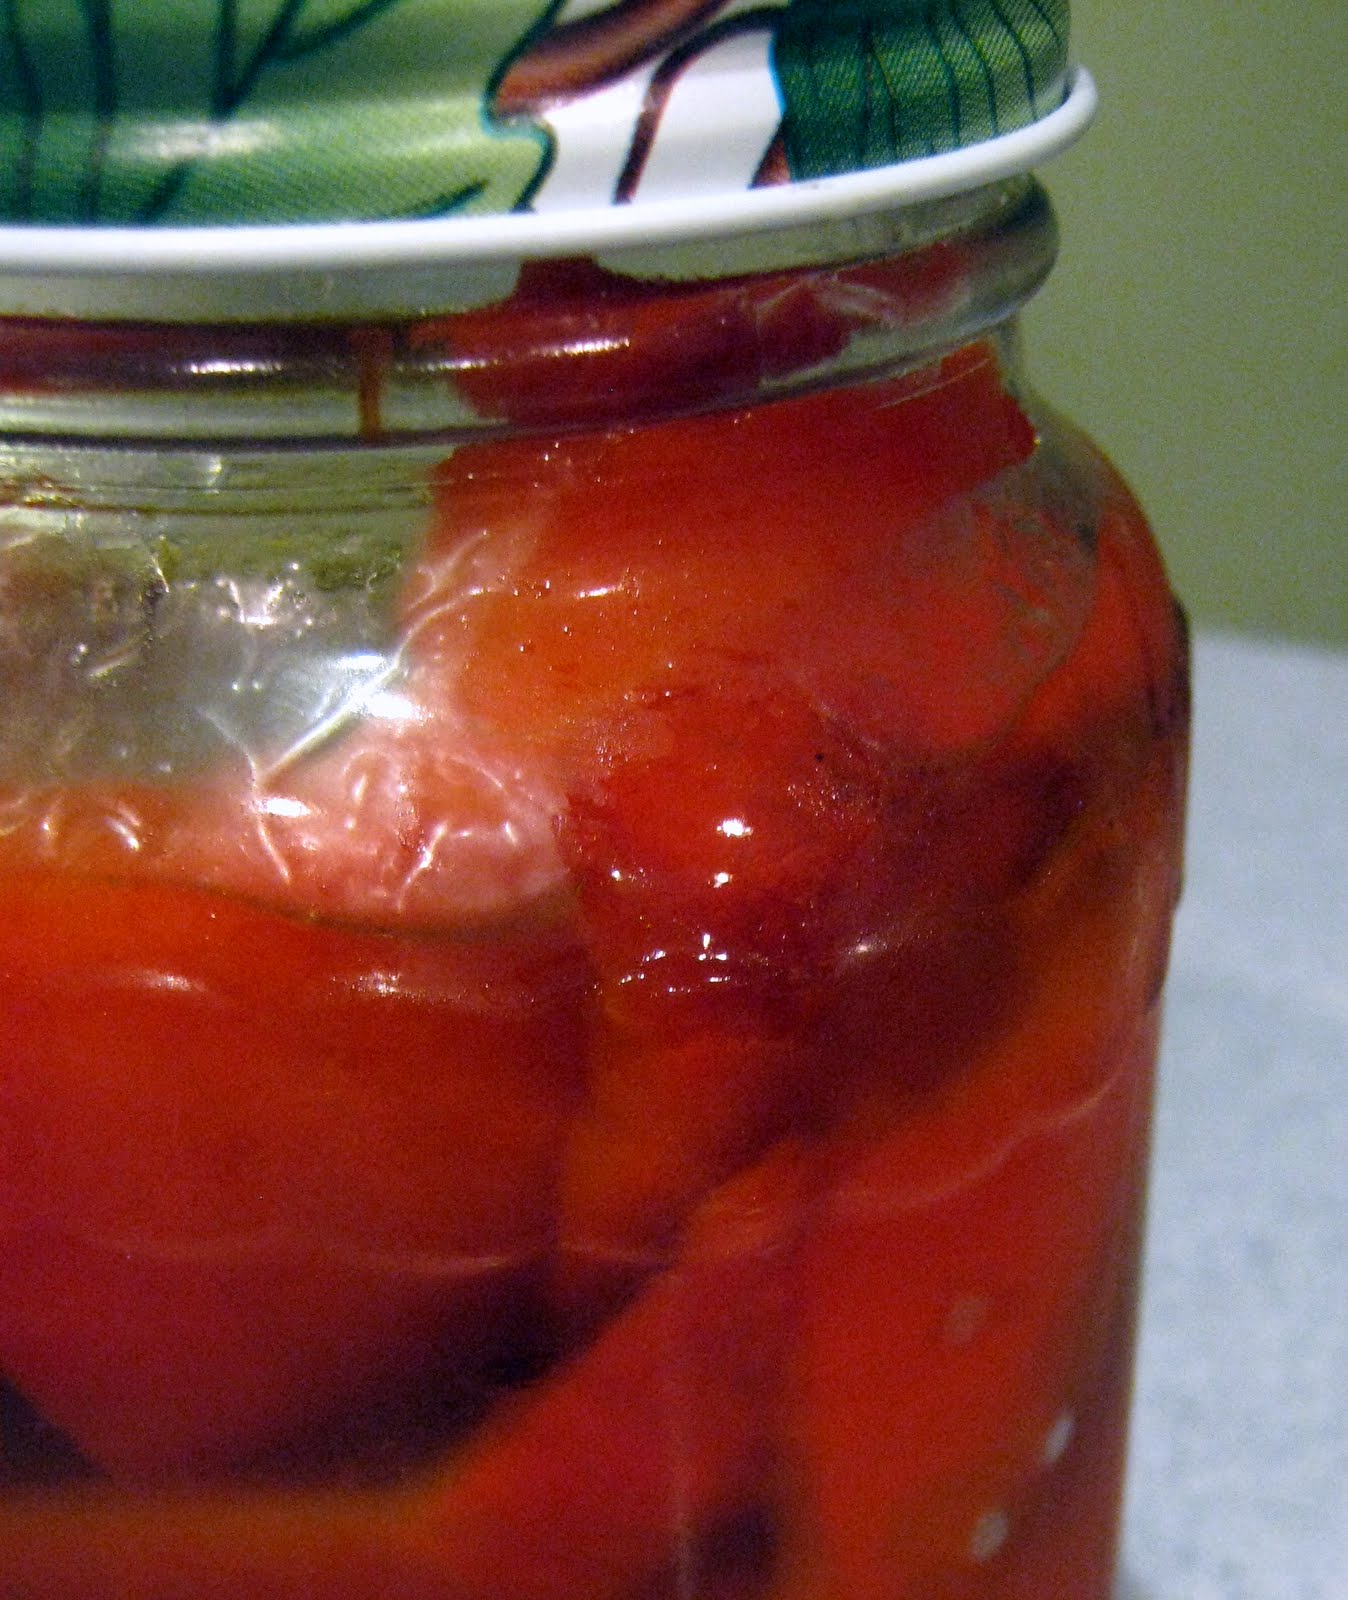
Red Pepper Candy

This weekend I found some gorgeous red bell peppers at my local greengrocer's.

Roasting red peppers brings out their smokey sweetness - that's why I call it candy. I bet you'll find yourself eating them as fast as you can peel them.

Keep them packed in olive oil in the fridge and add them to sandwiches, pasta, salads, or have them on their own, sliced and drizzled with balsamic vinegar and chopped basil.

Red Pepper Candy

(Enough for a one-litre jar)
6 large red peppers
2 cookie sheets lined with foil
1 large glass bowl
Plastic wrap
1 1L glass jar with lid, sterilized

Cut the tops and bottoms off the peppers. Twist the stems and cores out.

Slit each pepper down one side and "unroll" the pepper, pressing it down with your palm to flatten, so that it ends up in one long strip. Lay it out on your cutting board, skin side down. Holding your knife parallel to the cutting board, run it along the pepper to remove the ribs. You may have to trim the insides of the tops, too.

Lay each pepper, skin side up, on the cookie sheet, along with the tops and bottoms. A cookie sheet will hold about 3 peppers.

Move your oven rack to the topmost level. If it is more than 3.5 inches from the heat element, use a cookie pan with sides, turned upside down, to bring the peppers within 2.5 - 3 inches of the element.

Slide in the peppers and turn on your oven at its broil setting. Depending on the size of your oven and cookie sheets, you may have to do one sheet at a time.

Roast the peppers until the skins are blackened in spots. This doesn't take very long, about 3-5 minutes.
When the peppers are done, pop them into your large bowl and cover with plastic wrap. Let it steam away for 15 minutes. This cooks the peppers a little bit more and makes them easier to peel.

When they are cool enough to handle with your fingers, peel the peppers. You can eat them immediately or pack them in a jar with olive oil. They will last a couple of weeks stored in the fridge.

Monday, 17 May 2010

A stellar spring dessert

Canadian WONDER woman Maria contributed this recipe from her blog

===
A recipe for no-bake cheesecake came through my Twitter feed this week. I hardly ever make cheesecake because every recipe I've come across seems to be so complicated and expensive. This particular recipe, however, is nice and small, calling for only one 250-gram block of cream cheese and yielding 4 individual-sized cheesecakes.

You will need a hand-mixer to whip the cream cheese and cream. The whipped cream adds lightness to the mixture, and a dash of lemon juice adds a bright note. Once properly chilled, the resulting cheesecake is sweet-tart, with a full, rich bite.

The original recipe suggested blueberries for the topping, but you can use any fruit you like. I thought I'd use strawberries. I was at my friendly neighbourhood Asian market, and actually had a container of strawberries in my hand when I spotted this beauty: the star fruit.


Not only is this fruit good-looking and exotic, it is also rich in vitamin C, fiber, antioxidants and flavonoids. Eat it (minus the cheesecake) if you want to lose weight. Or eat it with the cheesecake but with a little less guilt, because each whole fruit contains only 30 calories.


If you want an extra shot of sweetness, glaze the star fruit slices with a little sugar syrup, or drizzle the tops of the cheesecakes with honey or balsamic vinegar syrup before serving.

As for the crust, I added ground-up macadamia nuts and wildflower honey to the usual graham cracker crumbs, to make this an extra-special dessert from top to bottom. (You could also use almonds or hazelnuts.)

For the crust:

1/4 cup graham cracker crumbs
1/4 ground macadamia nuts

2 tbsp honey

Mix in a small bowl with a fork until evenly moist and sticky. Press evenly into the bottoms of four small, clear dessert cups.


For the cheesecake:

1 250-g block of cream cheese
1/4 cup white sugar
1 tbsp lemon juice

Whip together until smooth, then fold in:
1/2 cup heavy cream, whipped

Scoop the cream cheese mixture into the dessert cups, pressing down lightly to ensure there are no air pockets.

Chill for at least 3 hours or overnight.